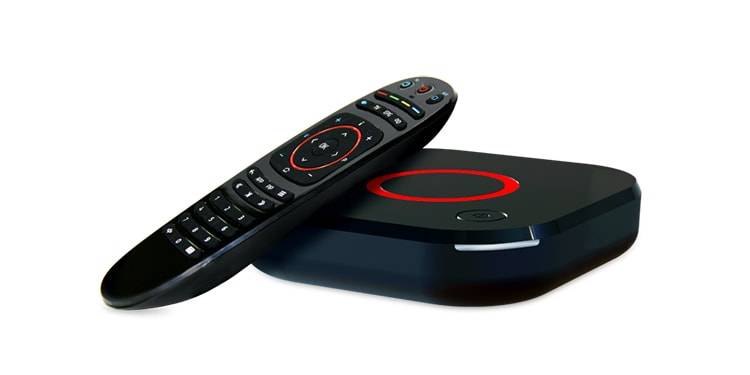
Mag Box Set Up

Many of you might be thinking, what is mag? Mag is nothing but primarily a set-up box that is used by people who like to stream IPTV. What’s best about Mag is that it has built-in stalker middleware via which you can stream IPTV without the need to download any third-party apps such as the Android STB emulator. But, first time users can have a hard time setting Mag for IPTV. To know how to setup IPTV on MAG Boxes, keep on reading.
MAG Box allows IPTV users to stream media on their TV. It also gives the functionality to play offline media from storage. All you need to do is connect it with the USB port. You can connect the IPTV provider with MAG to watch live TV. What many users find advantageous using MAG is that it supports stalker middleware and provides an Electronic Program Guide feature.
How to setup IPTV on MAG Boxes
First Part
Configuring Network Settings
The very first thing you need to do after plugging in your device is to connect your device to the network settings. To know how to configure Network settings on a MAG device, follow the steps below.
Step 1: Launch Settings of your MAG Box devices.

Step 2: From there, go to the System Settings.

Step 3: Then, from there go to Network settings. Over there, you can either connect your device either via Ethernet or Wireless connection.

Once you are done configuring network settings, you need to find your MAC Address in the MAG box. To know-how let’s figure out.
If you want to get our IPTV service working on your MAG Box devices, you will require an active IPTV subscription. You will require MAC Address when you will sign up with us. Send us the mac address when you contact us for the trial or subscription. It can be located at the bottom of the box. The MAC address starts with 00:1A:79.
Second Part
Configuring Settings of MAG Box
Now, since you have an activated MAC Address and our device is connected to the network, you can now start streaming the IPTV service. You must be wondering how? Let’s find out together.
Step 1: Launch System settings.

Step 2: Navigate yourself to the Servers option.

Step 3: Over there, select the “Portals” option.

Step 4: Within the Portal menu, you will be able to add or change the Portal URL. You can write any name in the Portal 1 box. For Portal 1 URL you need to enter the Portal address which you can get from us when you get the trial/subscription

Step 5: Save it. You can leave the Portal 2 name and URL field blank. In case you have multiple subscriptions to different IPTV servers, you can use Portal 2 name and URL field and with this option, you can choose between the two servers.
Step 6: Now, go back to the System settings and click on the restart portal option.

If you did configure everything from network settings to entering the right portal URL, you will see a yellow loading bar.
After the URL is loaded successfully, you will see an interface with an EPG guide.
What if you wish to change the Portal URL? Or what if you already have your subscription and you just need to update the Portal URL?
Follow the guide below to know how to change the portal URL of MAG Box:
In case you are looking for a guide to know how to update the Portal URL, then you have arrived at the right place. Why you exactly need a guide for updating the Portal URL is because whenever you turn on the device, it will redirect you to the portal which no longer exists. It then shows you an error where it recommends you contact your provider.
To fix this, you need to unplug your device first and then plug it back in. It will reload the screen. You need to long-press the menu button while it is being loaded so that you will be taken to settings
Now, from there go to system settings, then servers and portal. Over there change the portal URL.
Wrapping Up
That is all you need to setup IPTV on MAG Box. If you do end up configuring everything successfully, then your device and service shall work. You need to give us the correct MAC Address. If there is an error with your MAC Address, it will ask you to log in. There is no login and password. If it occurs, it simply indicates that the MAC Address you gave is wrong. Then contact us with the correct mac address
